Pay Invoices
The Pay Invoices page is accessed under the Payments menu.
If you will be processing credit invoices (invoices with a negative total amount), see Processing Credit Invoices instead of this topic.
Purpose and description
This page allows you to submit an immediate invoice payment and if the features are enabled, schedule a single future payment and/or multiple installment payments. When the payment is submitted, an authorization is made for either a credit card or echeck payment and a transaction is generated.
Key points and considerations
-
-
If you choose Pay Now, an authorization is immediately performed against the payment method entered and the invoice balance is updated.
-
If you choose Pay Later or Installment, a future payment is scheduled. (Only available if enabled by the Merchant.)
-
If you are scheduling a future payment, note that validations occur when a scheduled payment runs to verify the amount of the payment does not exceed the current invoice balance.
-
If there are two scheduled payments on the same day (i.e. a "Pay Later" and an "Installment" payment), a potential overpayment could occur.
-
-
If an invoice is flagged as Read-Only, it does not display in the list of available invoices for payment.
-
It does display in the Invoices Report and the Invoice Details indicates it is "Read-Only".
-
-
If you are selecting multiple invoices and you select one that cannot be paid with a common payment method as the invoices already selected, the following error displays:
-
"No payment method can be used to pay all selected invoices."
-
You should deselect the invoice that you just selected which resulted in the error. You will need to process that invoice separately.
-
-
Before you submit payment and receive a confirmation, you can navigate to a Step that has already been completed by clicking on the Step # or the back link.
-
Generally, an invoice status changes to "Pending" once the payment is submitted. See Invoice Statuses for more details.
-
If Partial Payments are allowed, the Invoice Status may vary once the payment is submitted depending upon if the Merchant has configured residual payments. Again, see Invoice Statuses for details.
-
-
For echeck payments,
-
T&C is only applicable for Merchant's that support Buyers and echeck payments in BillPay.
-
Steps to pay an invoice
The Pay Invoices pages and steps vary slightly depending upon if Buyers are supported AND the payment features that are enabled.
High-Level Pay Invoices Steps:
-
Select Invoices
-
Schedule Payment (optional step if the Merchant has enabled future payments)
-
Enter/Select Payment Method
-
Review & Submit
-
Obtain Confirmation
1. Select invoices
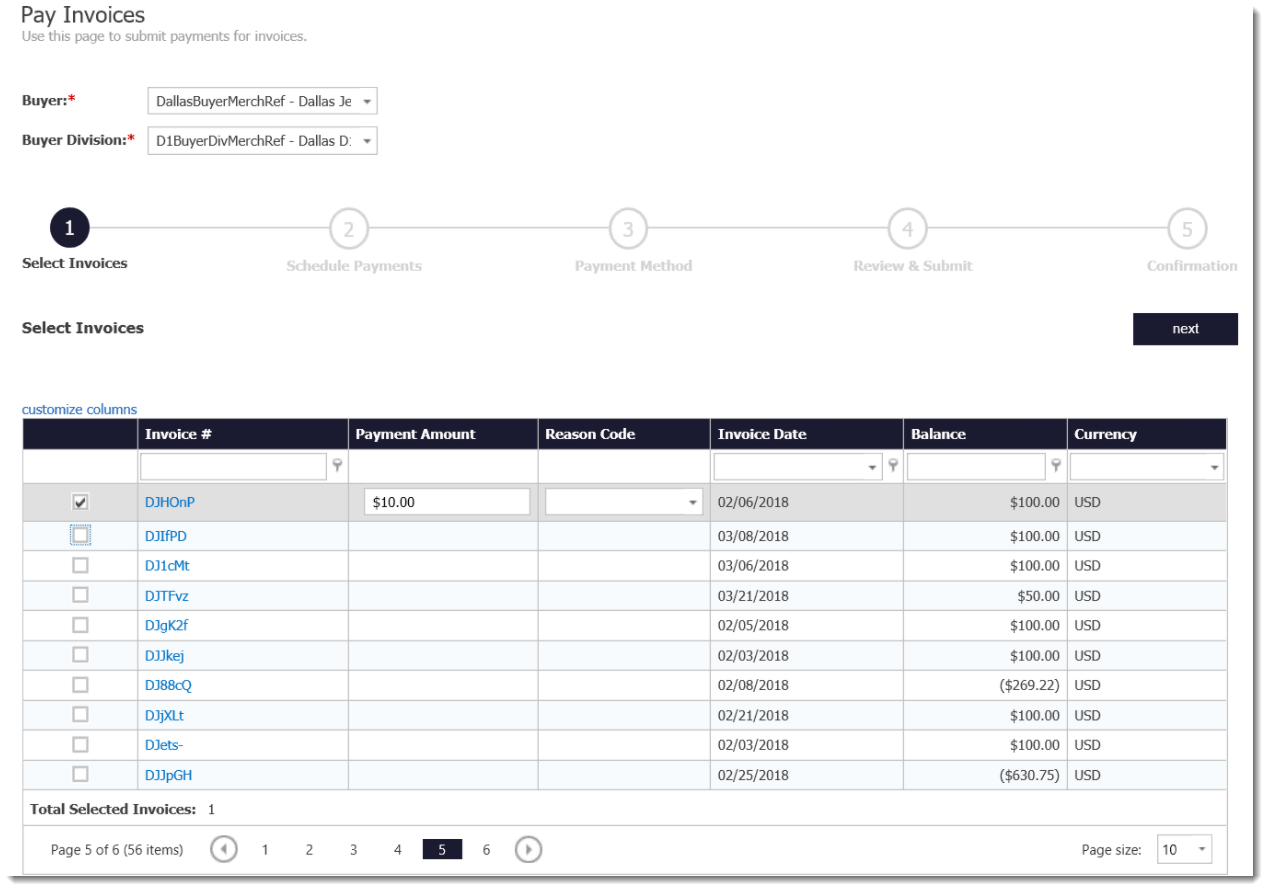
How the Invoices are selected varies depending upon whether the Merchant has implemented Buyers or not.
| Buyers ARE Implemented | Buyers ARE NOT Implemented |
|---|---|
|
|
Tips
-
Customize Columns - In the invoice grid area, you can click customize columns to reorder or add/remove columns.
-
Invoice # and Payment Amount columns cannot be moved.
-
Reason Code column cannot be moved if that field is enabled and configured as required.
-
-
PDF View of Invoice - You will see a PDF icon next to the Invoice # if the functionality is enabled and the appropriate document values are sent when uploading the invoice.
-
You can click on the PDF icon to view a PDF of the invoice. It is printable from the browser.
-
See Buyer Notification Methods for more information regarding this feature including how the PDFs can be sent to Buyers.
-
Field descriptions
Most of the fields in the invoice grid are self explanatory. Following are a few that may require additional information.
| Field name | Description |
|---|---|
|
Head Invoice |
If multiple invoices exist in an invoice hierarchy, the head invoice value is the original invoice in the chain of invoices. See Parent Invoice below for more information regarding a chain of invoices. |
|
Invoice Group Ref |
Provides the ability to group invoices by a common value. For SAP integrations, the Company Code, Fiscal Year, and Accounting Line Item Number are appended to the Invoice # to ensure that the Invoice # value is unique in BillPay. We then use the Invoice Group Ref field to capture just the Invoice # (Billing Document Number). Users can add the Invoice Group Ref field to the detail grid on the Pay Invoices and Manage Scheduled Payment pages in the BillPay Portal to easily locate all open items for a given Billing Document Number. |
|
Parent Invoice |
This field allows a merchant to associate one invoice to another. For example, if a partial payment is made and the merchant is using a residual payment workflow, the status of the invoice on which the partial payment is made changes to 'Residual Closed' and the balance becomes $0. The Merchant then creates a new invoice for the remaining balance and references the invoice that was partially paid in the Parent Invoice field. If another partial payment is made on the new invoice, the same process occurs until the balance is paid in full. This chain of invoices displays in BillPay Portal on Invoice Details page in the Invoice Hierarchy section. |
|
Memo |
A note/message a merchant may choose to include regarding the invoice. |
2. Schedule payment
You will only see this Step if scheduled payments are allowed by the Merchant. If not, skip to Payment Method.

You may not see all of these options depending upon what the Merchant has configured for payment options.
-
Select one of the following payment options:
-
Pay Now - Submit an immediate payment against one or more invoices. (This is a standard payment feature.)
-
Pay Later - Schedule a future payment against one or more invoices. (Optional payment feature and only available if enabled by onboarding and the Merchant.)
-
Pay with installments (payment plan) - Schedule multiple payments against one invoice.
The number of payments allowed is configurable by the Merchant. A message displays if the number of payments entered exceeds the allowable number. (Optional payment feature and only available if enabled by onboarding and the Merchant.)
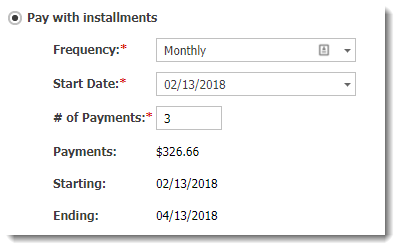
Select the Frequency, Start Date and enter # of Payments, and then press the tab key. BillPay calculates the Payment amount and start/end dates.
-
-
Click next to continue.
3. Payment method
Note: If surcharge or convenience fee is enabled, you will see a note indicating the details directly above the payment method options. This wording is configured by the Merchant. This same message displays in the Review & Submit step as well. Following is an example:
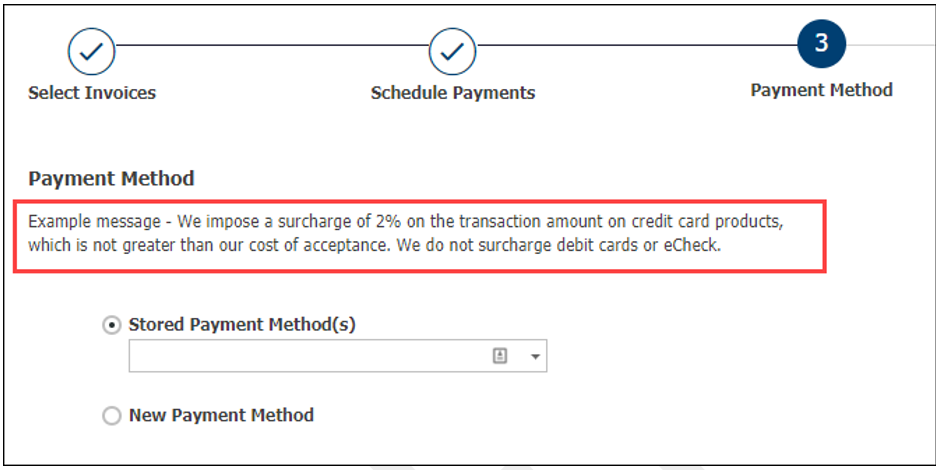
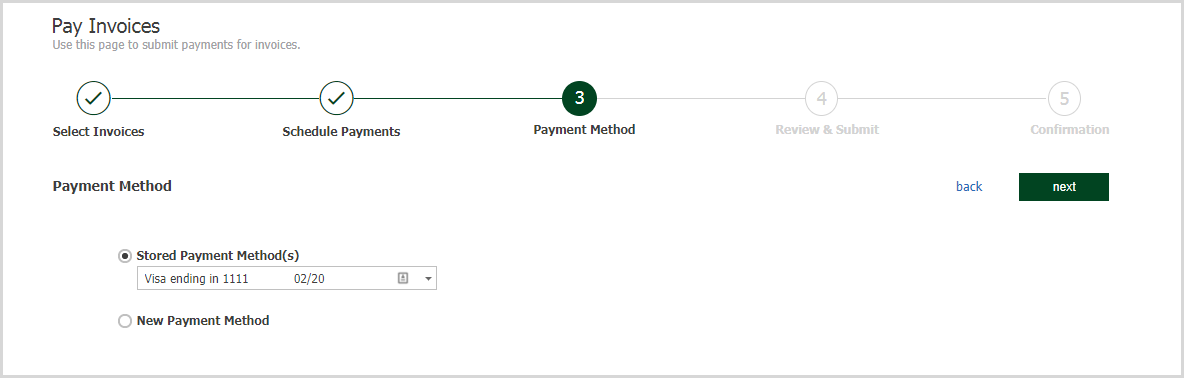
The payment methods that display are limited to only those supported based off the selected invoices.
If Buyers are supported and the buyer has any stored payment methods, “Stored Payment Method” option will display in addition to the “New Payment Method” option.
-
Select a Stored Payment Method (if available), or enter a New Payment Method.
-
If new, complete the associated payment detail fields. Some fields may be prepopulated based on the data from the first invoice selected if this feature is implemented.
-
If echeck payment method is available, the payment detail fields vary depending upon the Bank Account Type selected.
-
-
Click next to continue.
NOTE: If you select echeck payment, you are prompted to review and accept the Terms & Conditions prior to reviewing and submitting your payment. Only applicable if echeck is enabled by the Merchant.
4. Review and submit
Review the payment details and click to submit when you are ready to authorize the payment.
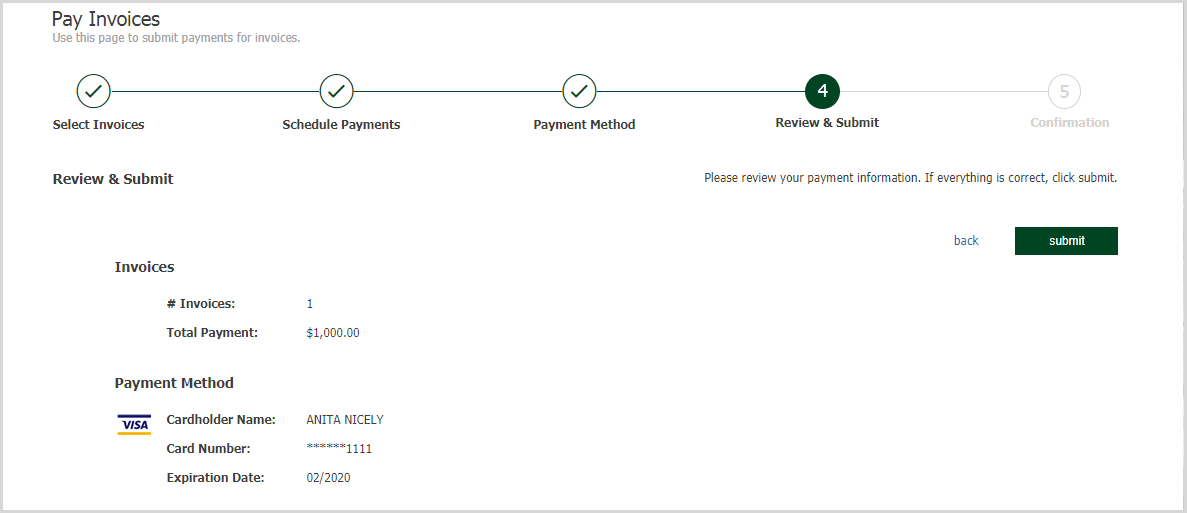
NOTE: If surcharges or convenience fees are enabled, the disclosure message always displays on this step.
If a surcharge or convenience fee is applicable, it is stored in a separate field and does not go towards the balance of an invoice. You see SubTotal = payment amount excluding surcharge/convenience fee, Surcharge/Convenience Fee = surcharge/convenience fee amount, and Total Payment = payment amount + surcharge/convenience fee.
You will not see a Surcharge total amount nor Subtotal amount if the payment method is echeck or debit card.
5. Confirmation
A Confirmation # is provided and the Invoice Status is updated.
If a payment declines, a detailed message will display. This is the same message that appears in the XiPay WebGUI.
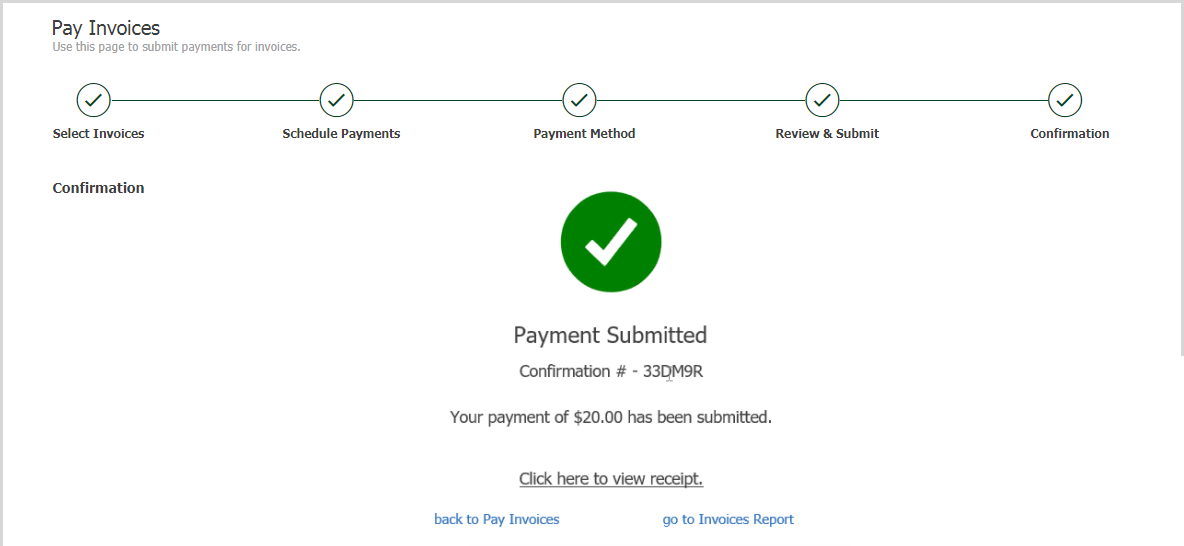
You can copy/paste the Confirmation # in the Quick Search field at the top of the page (next to the gear icon) to view the Confirmation Details page.

For Buyer users, if an echeck payment was made, they will see a link to "view accepted terms & conditions".