Document library items are standard documents used as defence material.
You attach documents to a disputed transaction and use them as evidence. For example, your full terms and conditions of sale might be a single pdf document. A screenshot of an application screen might be a .png document. Each document is a library item.
Use the Document Library Items screen to manage the various individual documents the DRC system handles. Provided you have the right permission, you can search, view, edit, add and delete documents.
To search for a document:
From the top menu, select Documents > Document Library items. The Document Library Items screen appears.
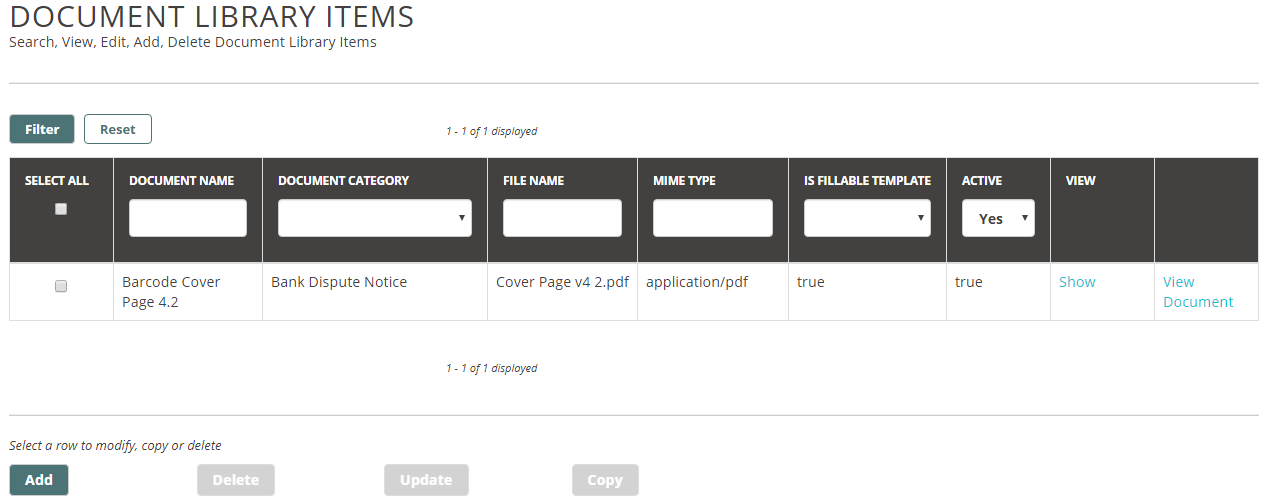
From here you can:
Use the filter to find a document
From the top menu, select Documents > Document Categories.The Document Library Items screen appears.
To select a document, click the checkbox next to the document. To select all the documents, click the Select All checkbox.
To search for a document by name, enter a name or part of the name in the Document Name field.
To search for a document by its category, select the category from the Document Category dropdown.
To search for the document by its file name (not the name of the document), enter the file name or part of the file name in the File Name field.
The media type of the document library item appears in the Mime Type field (read only field).
Select Yes or No in the Is Fillable Template field. Forms are fillable templates whereas documents like images are not.
Select Yes or No in Active field. Active document categories are currently in use in your system. Inactive document categories are not in use, but still stored in the system.
Prerequisite: Make sure the document is the correct type. These are:
BMP (Bitmap)
GIF (Graphics Interchange Format)
PDF (Portable Document Format)
JPG (Joint Photographic experts Group)
PNG (Portable Network Graphics)
TIF (Tagged image File)
From the top menu, select Documents > Document Library Items. The Document Library Items screen appears.
Click the Add button to display the Document Categories (Add) screen.
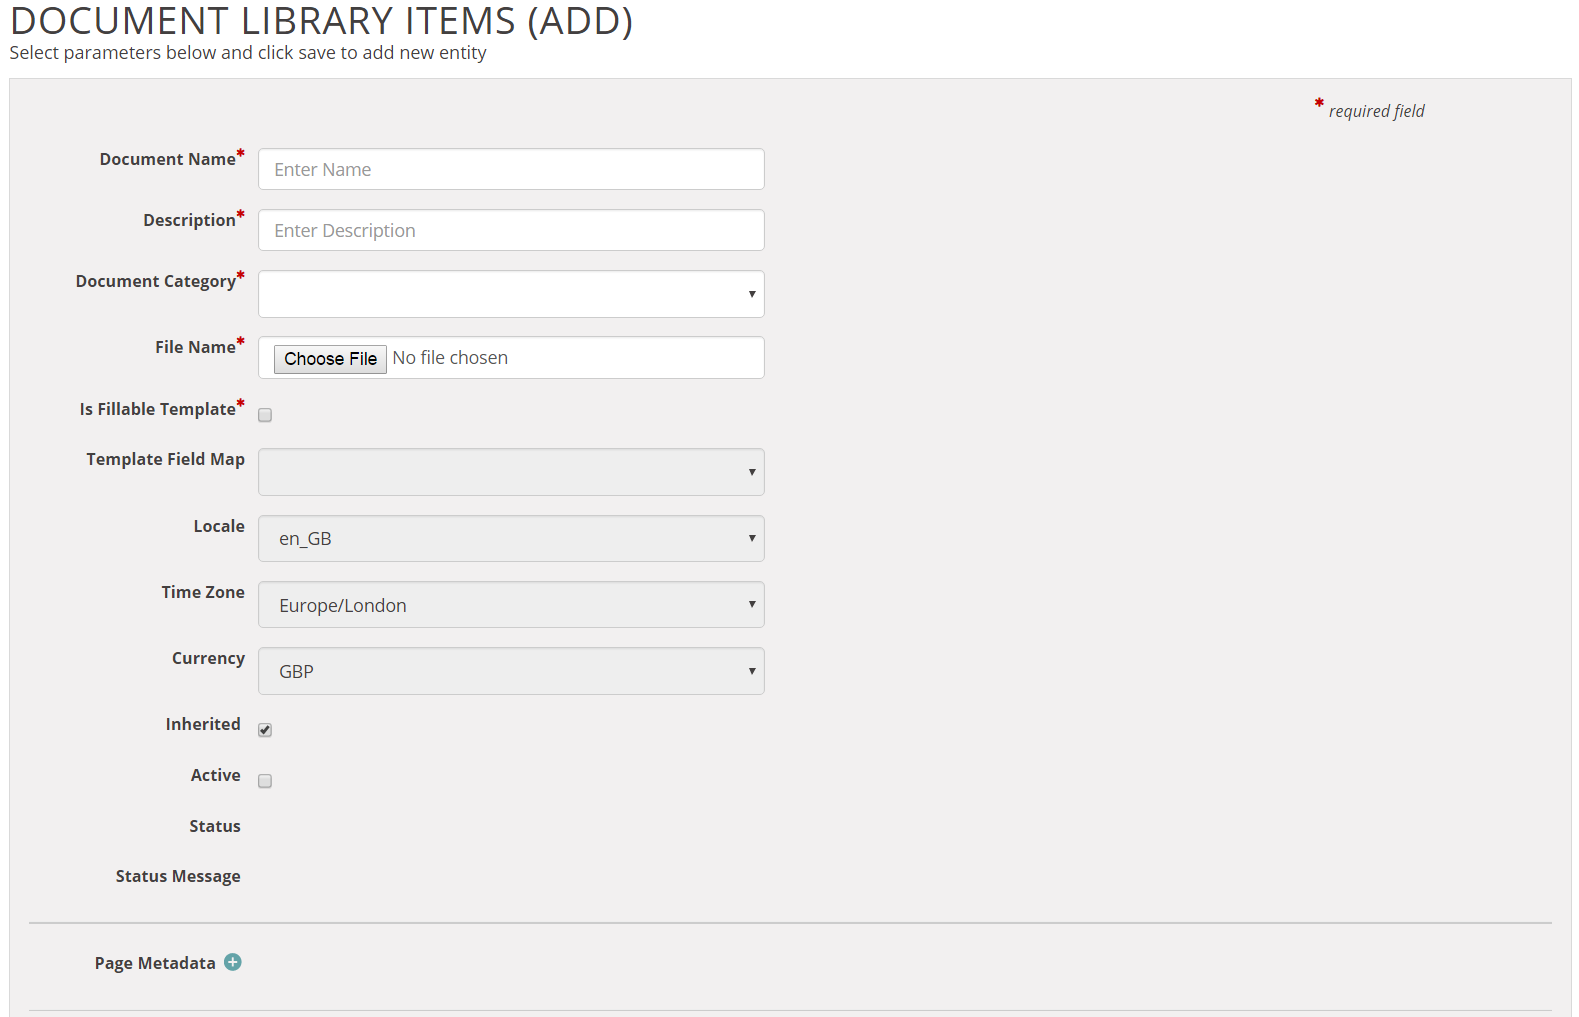
Note: Fields marked with a star (*) are mandatory.
Enter the new document name in the Document Name field, and a brief description of the document category in the Description field.
Select the category of the new document from the list in the Document Category drop-down.
Best practice: We recommend that you never use the Other Support Document category, because if you select this category it appears in every single type of dispute.
Upload the new document to the system. Use the Choose File button in the File Name field. Once you have uploaded the file, the file name appears in the File Name field.
If the document is inherited click the Inherited check box.
If the document is active (that is currently available for upload to a case) click the Active check box. You may have some future or past documents that you want to be on the system, but are inactive, for the moment.
Ignore the other fields (for example, screen Metadata) as they do not apply to the task of adding a document to the system.
Click the Save button to upload the new document.
From the top menu, select Documents > Document Library Items. The Document Library Items screen appears.
Find the document you want to copy from the list on the screen.
Click the checkbox to the left of the document you want to copy.
Click the Copy button to display the Document Library Items (Copy) screen.
Enter a new name and description for the document in the Document Name and Description fields. Select the correct document category for the copied document from the Document Category drop-down list.
To select the file from your folders, use the Choose File button in the File Name field.
Change any other parameters you want - the system copies all the parameters on the screen.
Click the Save button to copy the document category.
From the top menu, select Documents > Document Library Items. The Document Library Items screen appears.
Find the document you want to delete from the list on the screen, or use the filters.
Click the checkbox to the left of the document category you want to delete.
Click the Delete button.
Click the OK button on the confirmation popup.
From thetop menu, select Documents > Document Library Items. The Document Library Items screen appears.
Find the document you want to update from the list on the screen, or use the filters.
Click the checkbox to the left of the document category you want to update.
Click the Update button to return to the Document Library Items screen.
Click the Save button to save your updated document category.
Change any other parameters you want - the system copies all the parameters on the screen.
| Guide feedback?
Email us at: guides@worldpay.com |
   
|
|
© Worldpay 2019, LLC and/or its affiliates. All rights reserved. |